Issue
The front USB socket is broken (Figure 1).
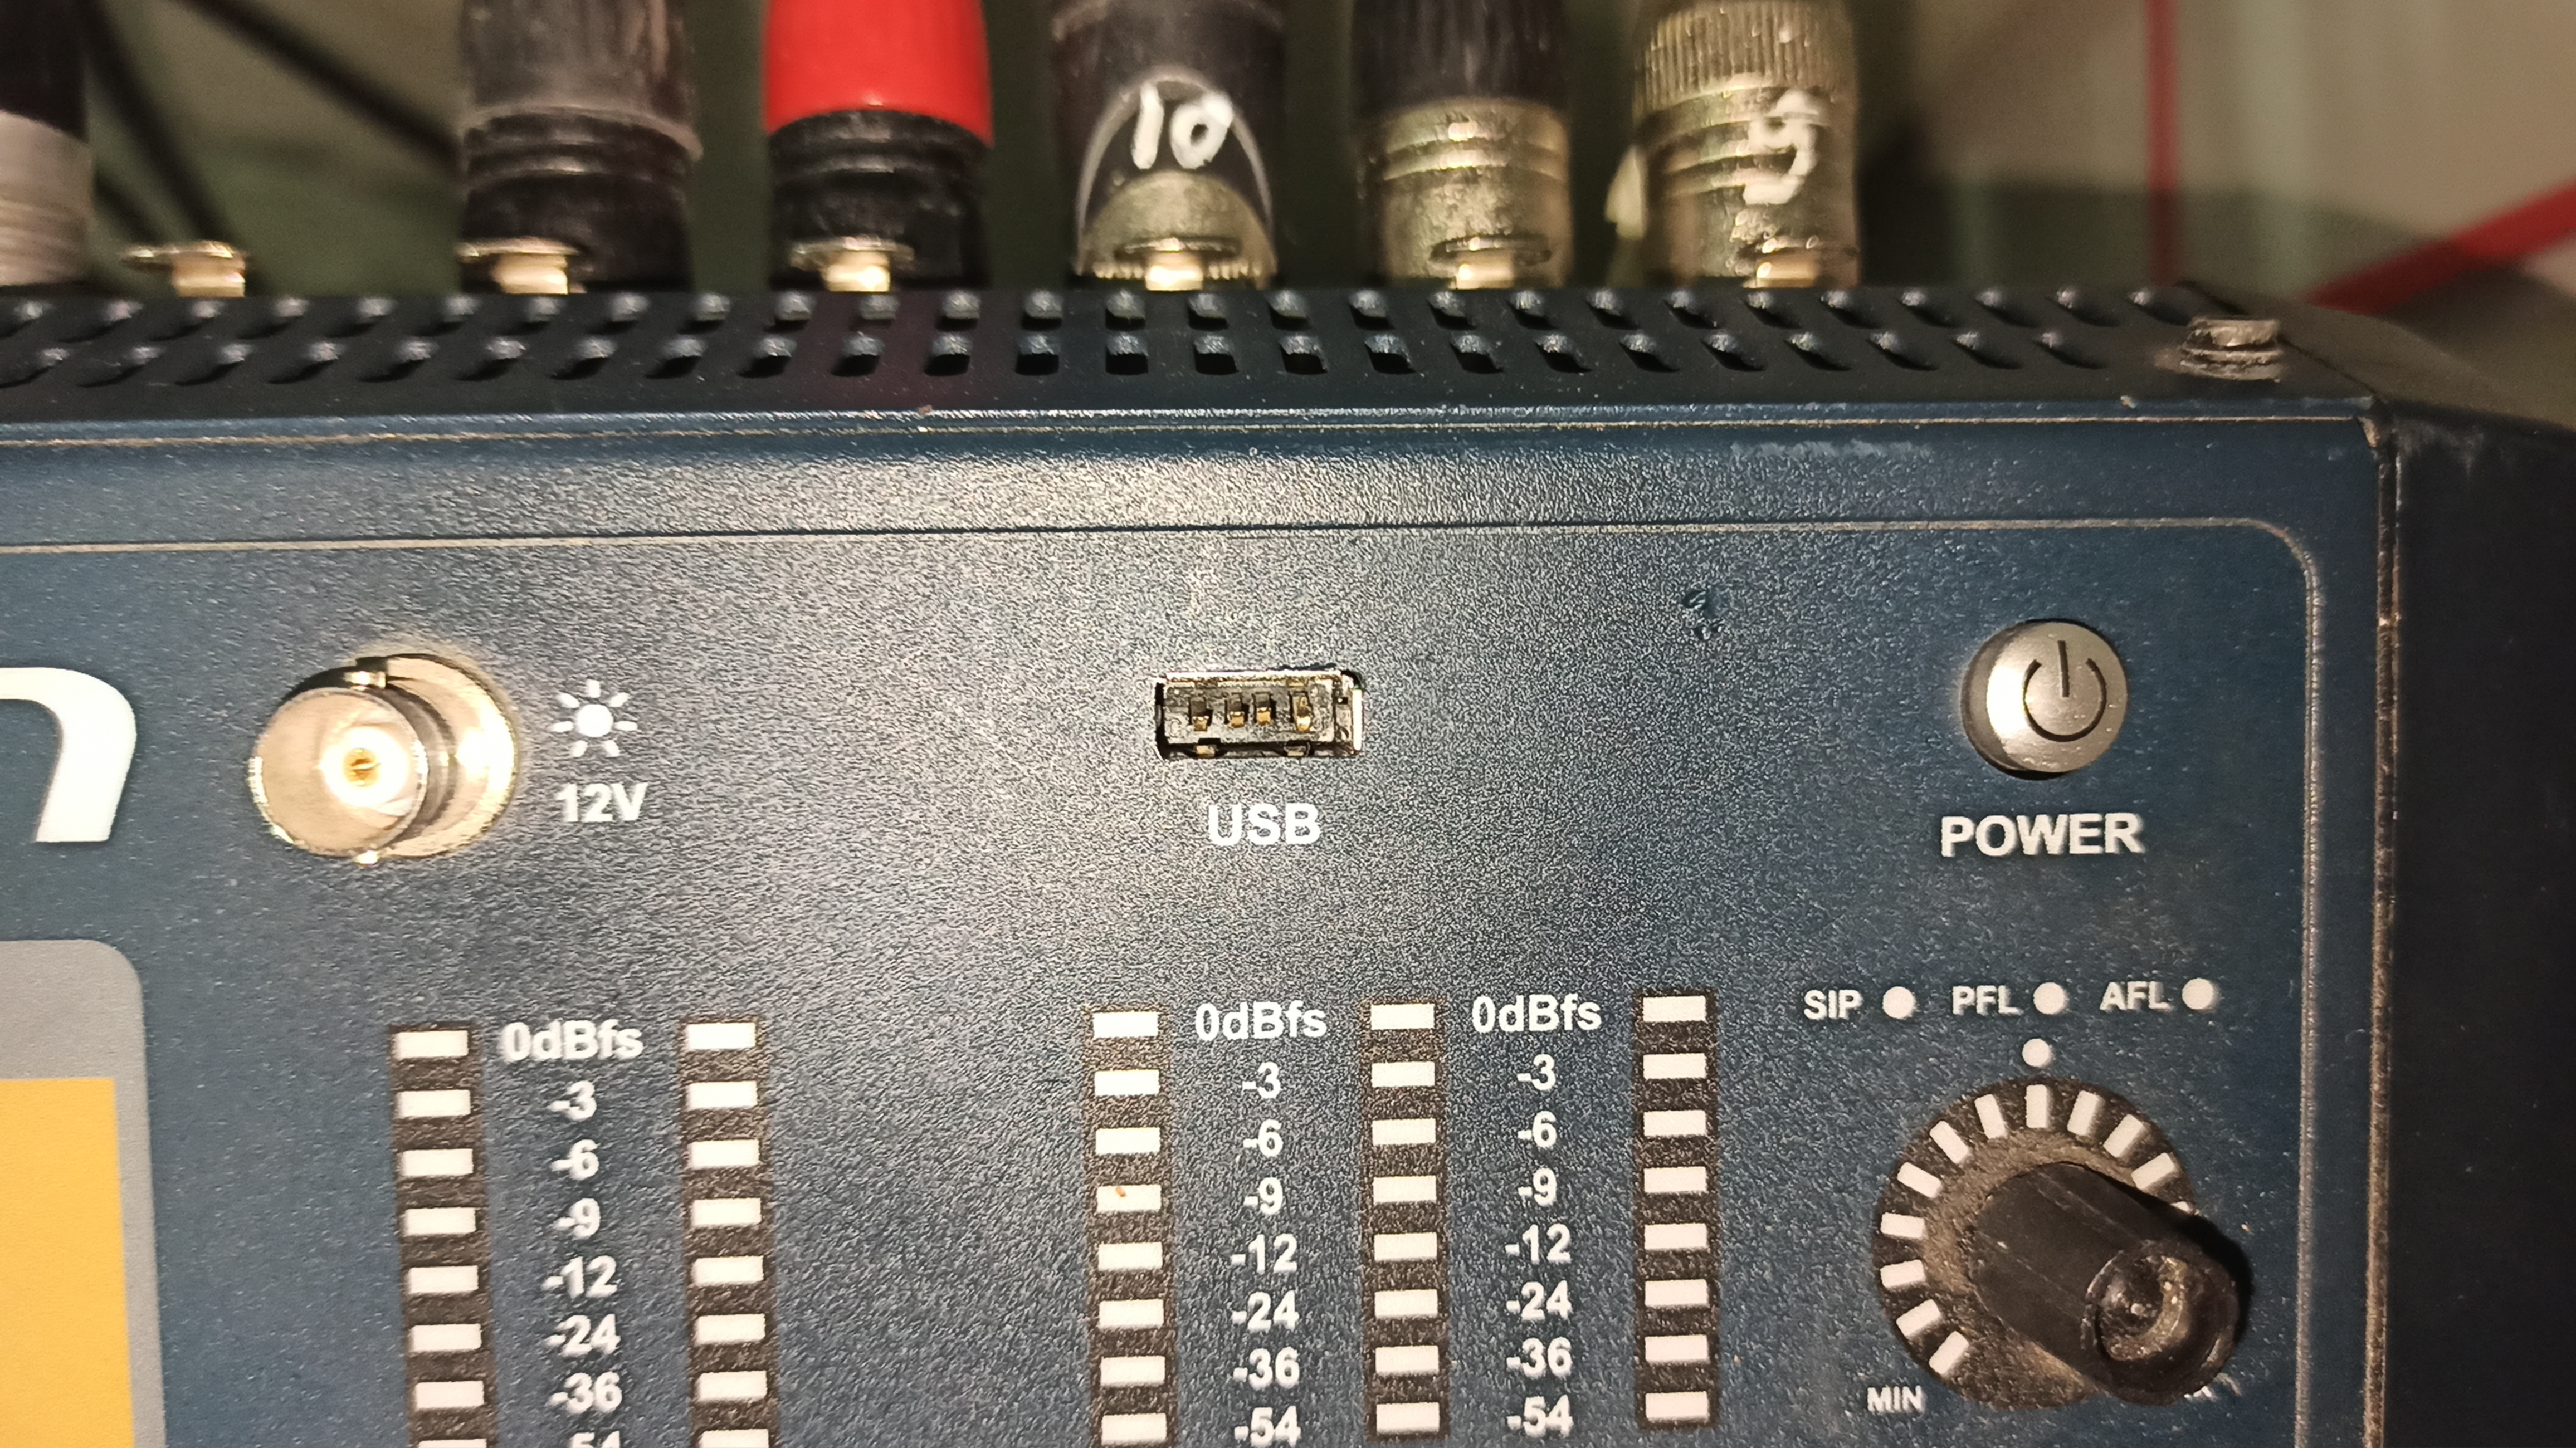 Figure 1 - Broken USB
Procedure
This is a DIY repair, if you feel expert enough on this, rememeber that you are doing it under YOUR OWN RISK!
Step 1 - Remove the back plate
Unscrew all the highlighted screws (Figure 2).
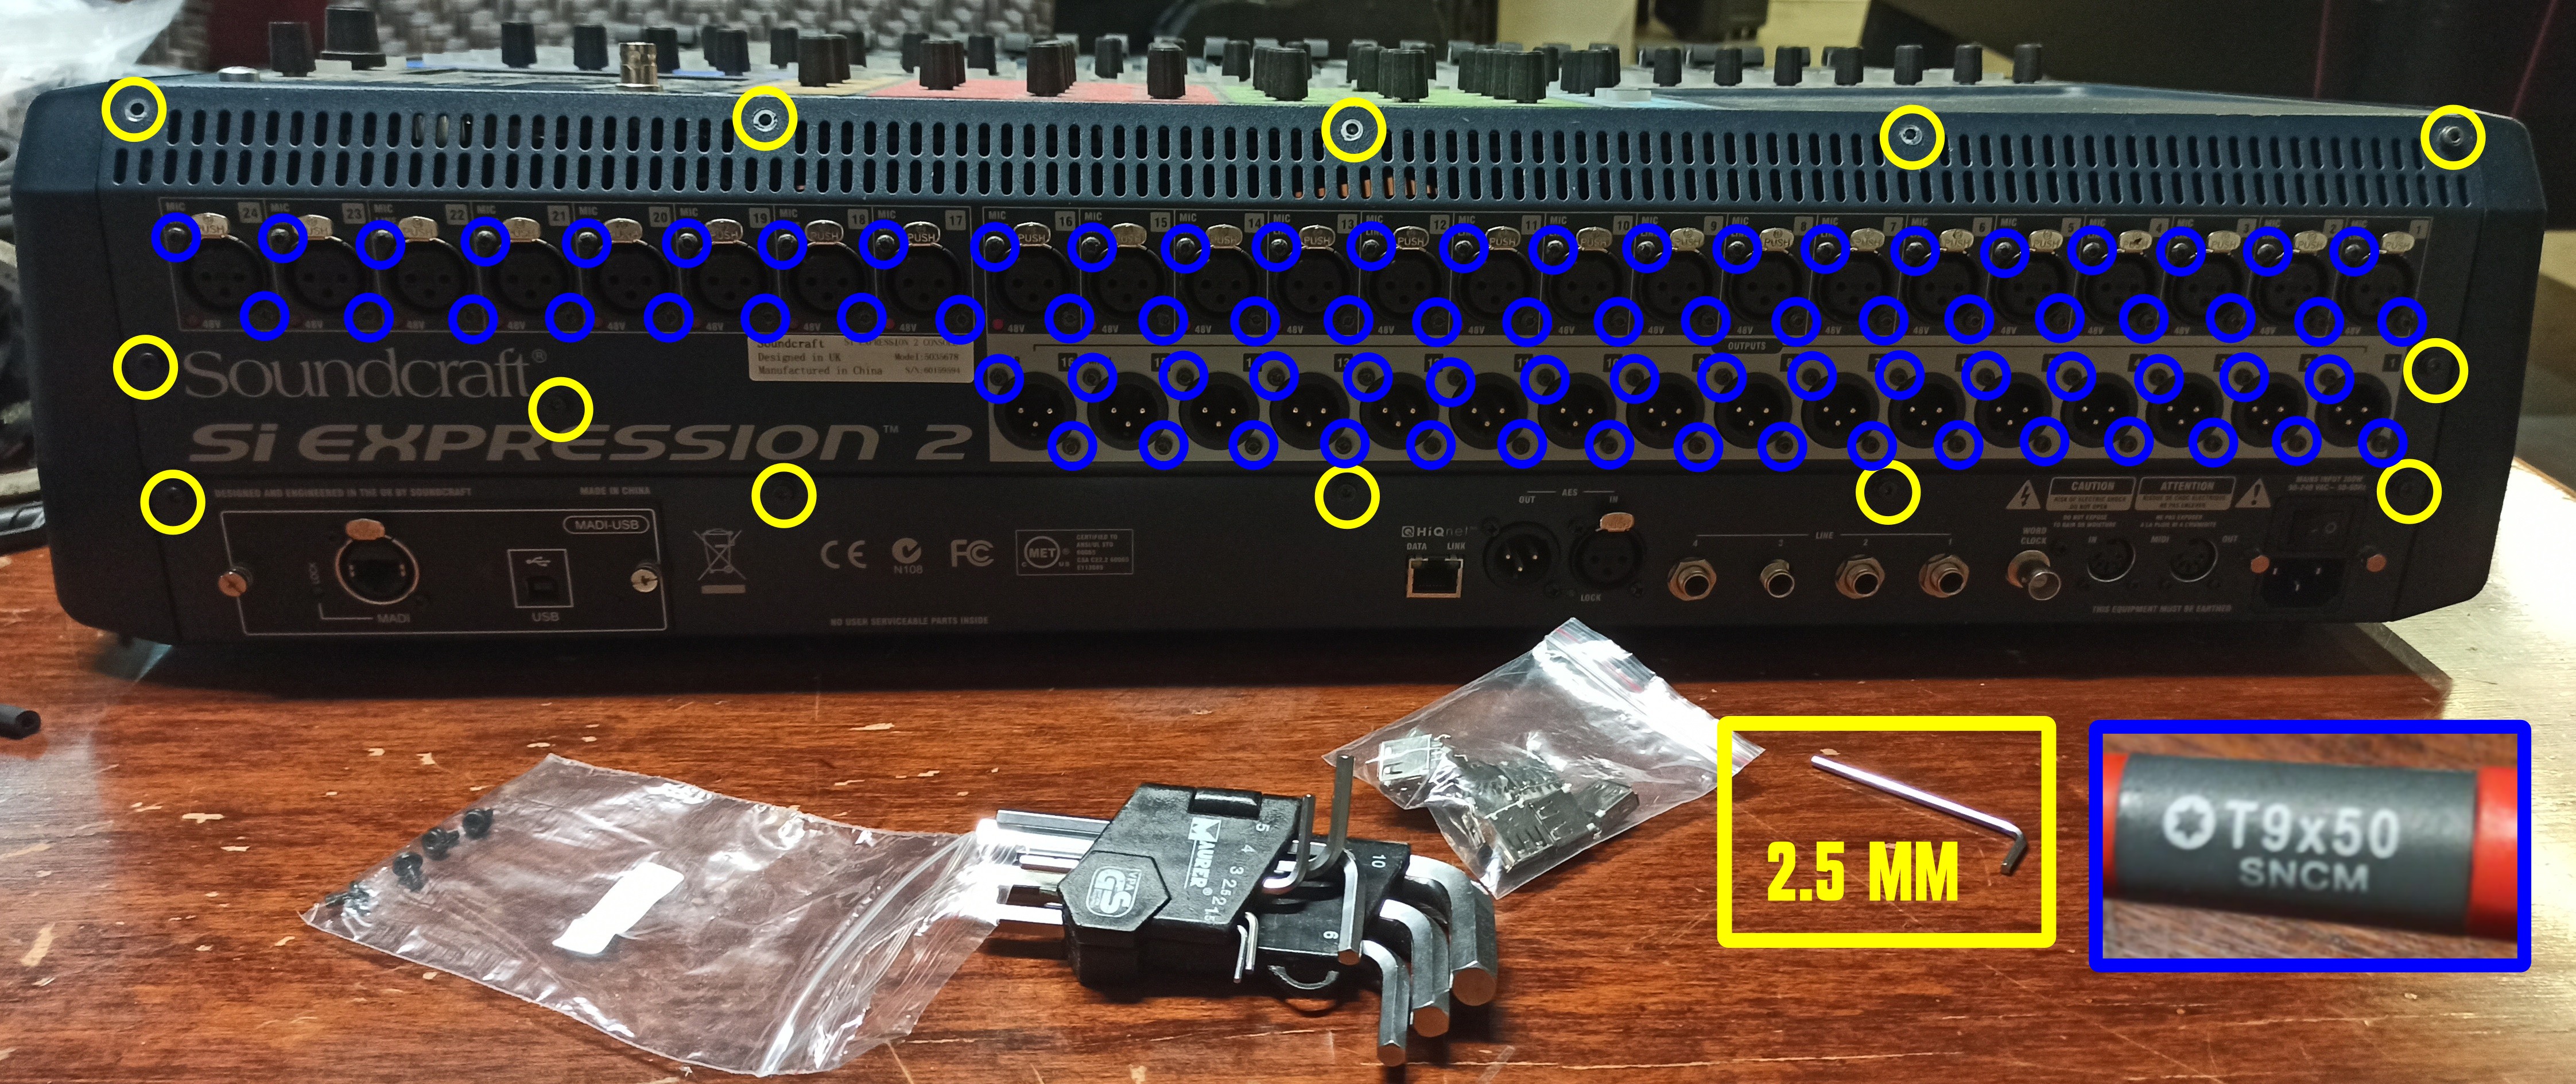 Figure 2 - Screws to remove
Remove carefully the back plate (Figure 3).
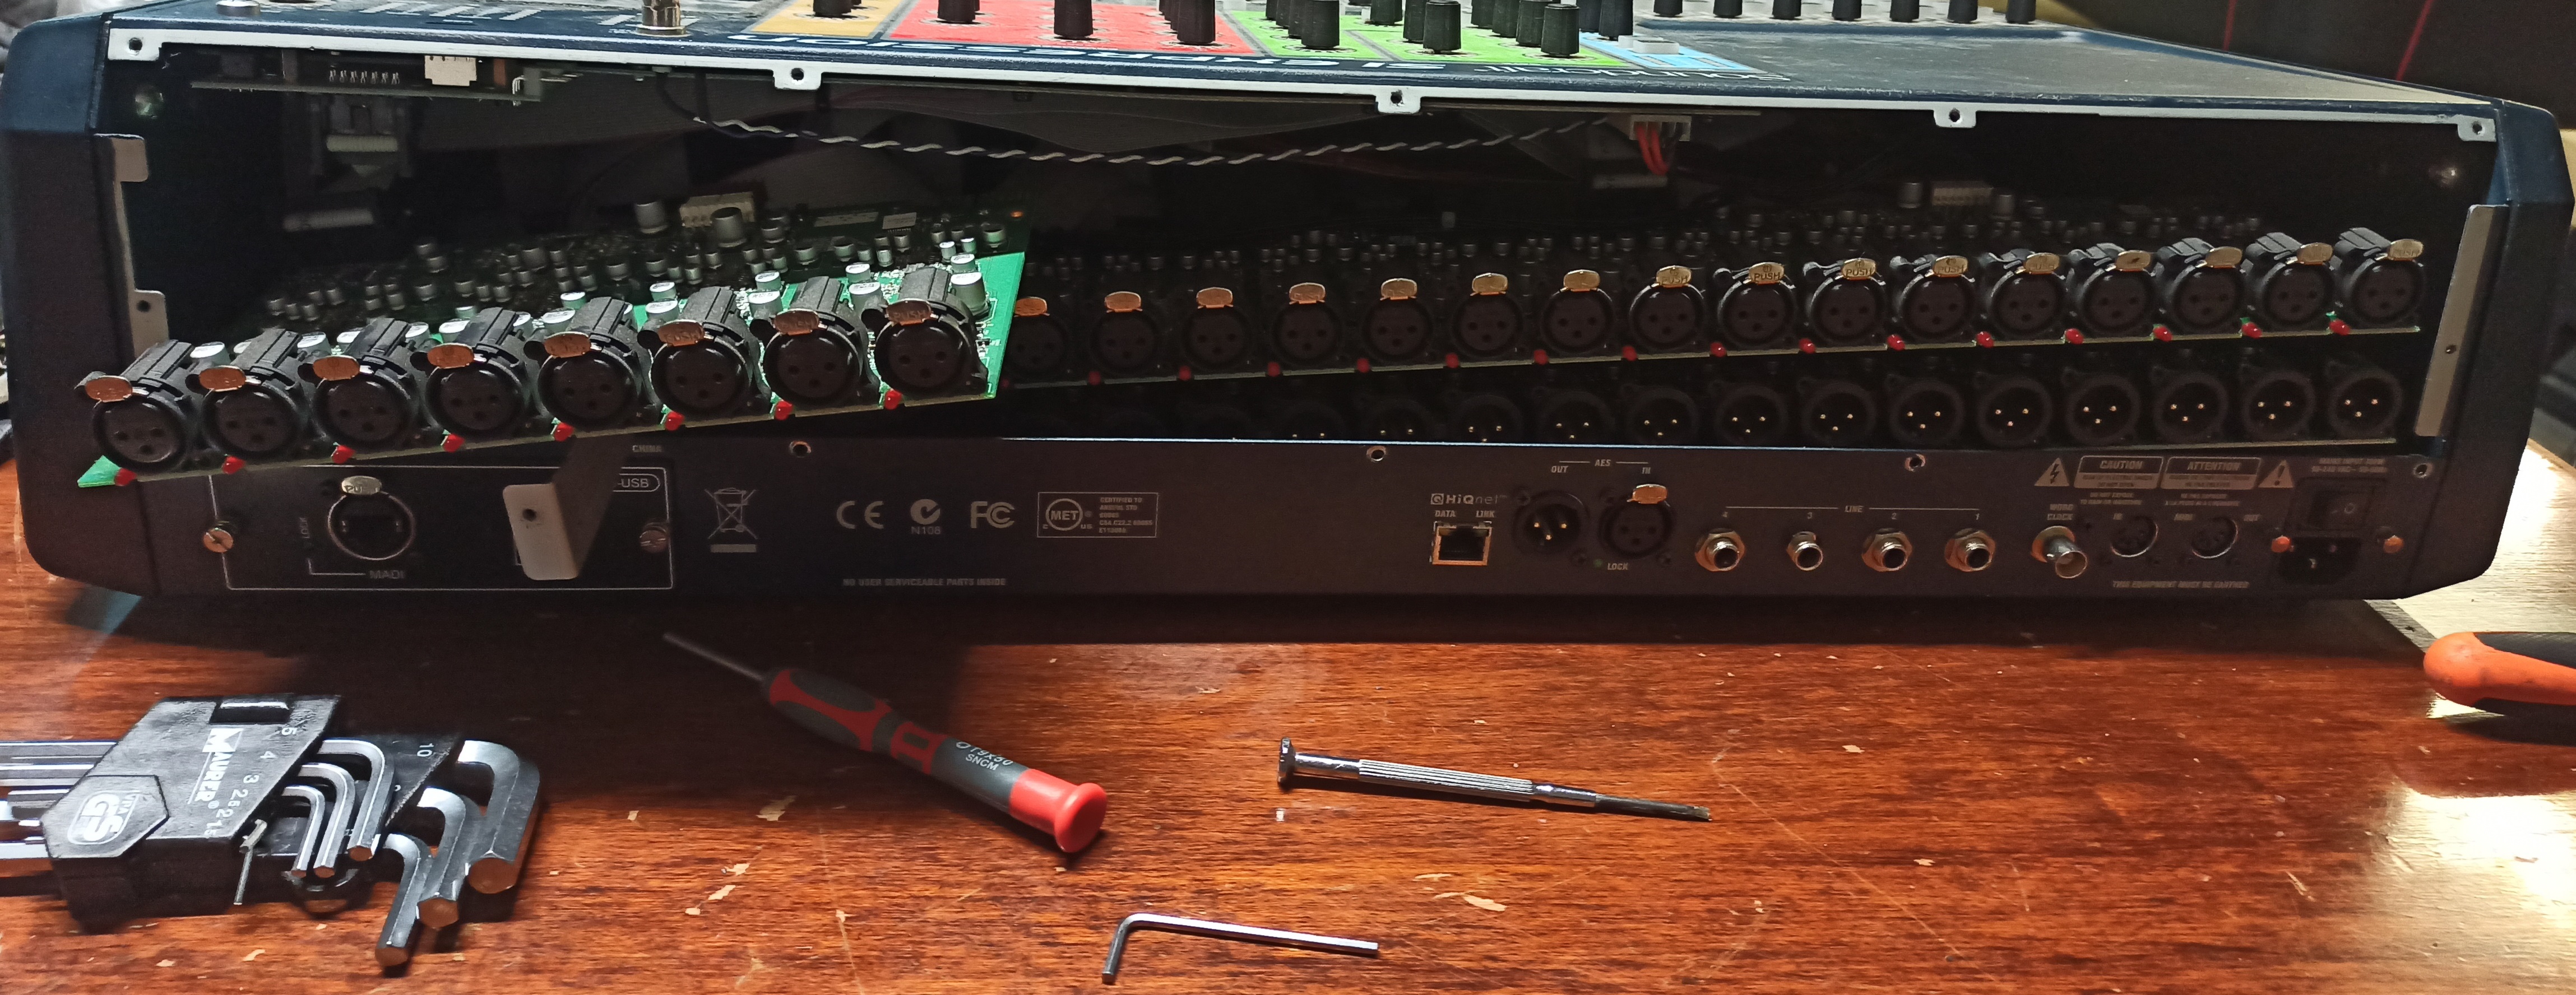 Figure 3 - Remove back plate
Step 2 - Remove the USB PCB
The USB port is solded on a tiny PCB module. Unplug the flat connector from it, but before rememeber to sign it with a marker! (Figure 4)
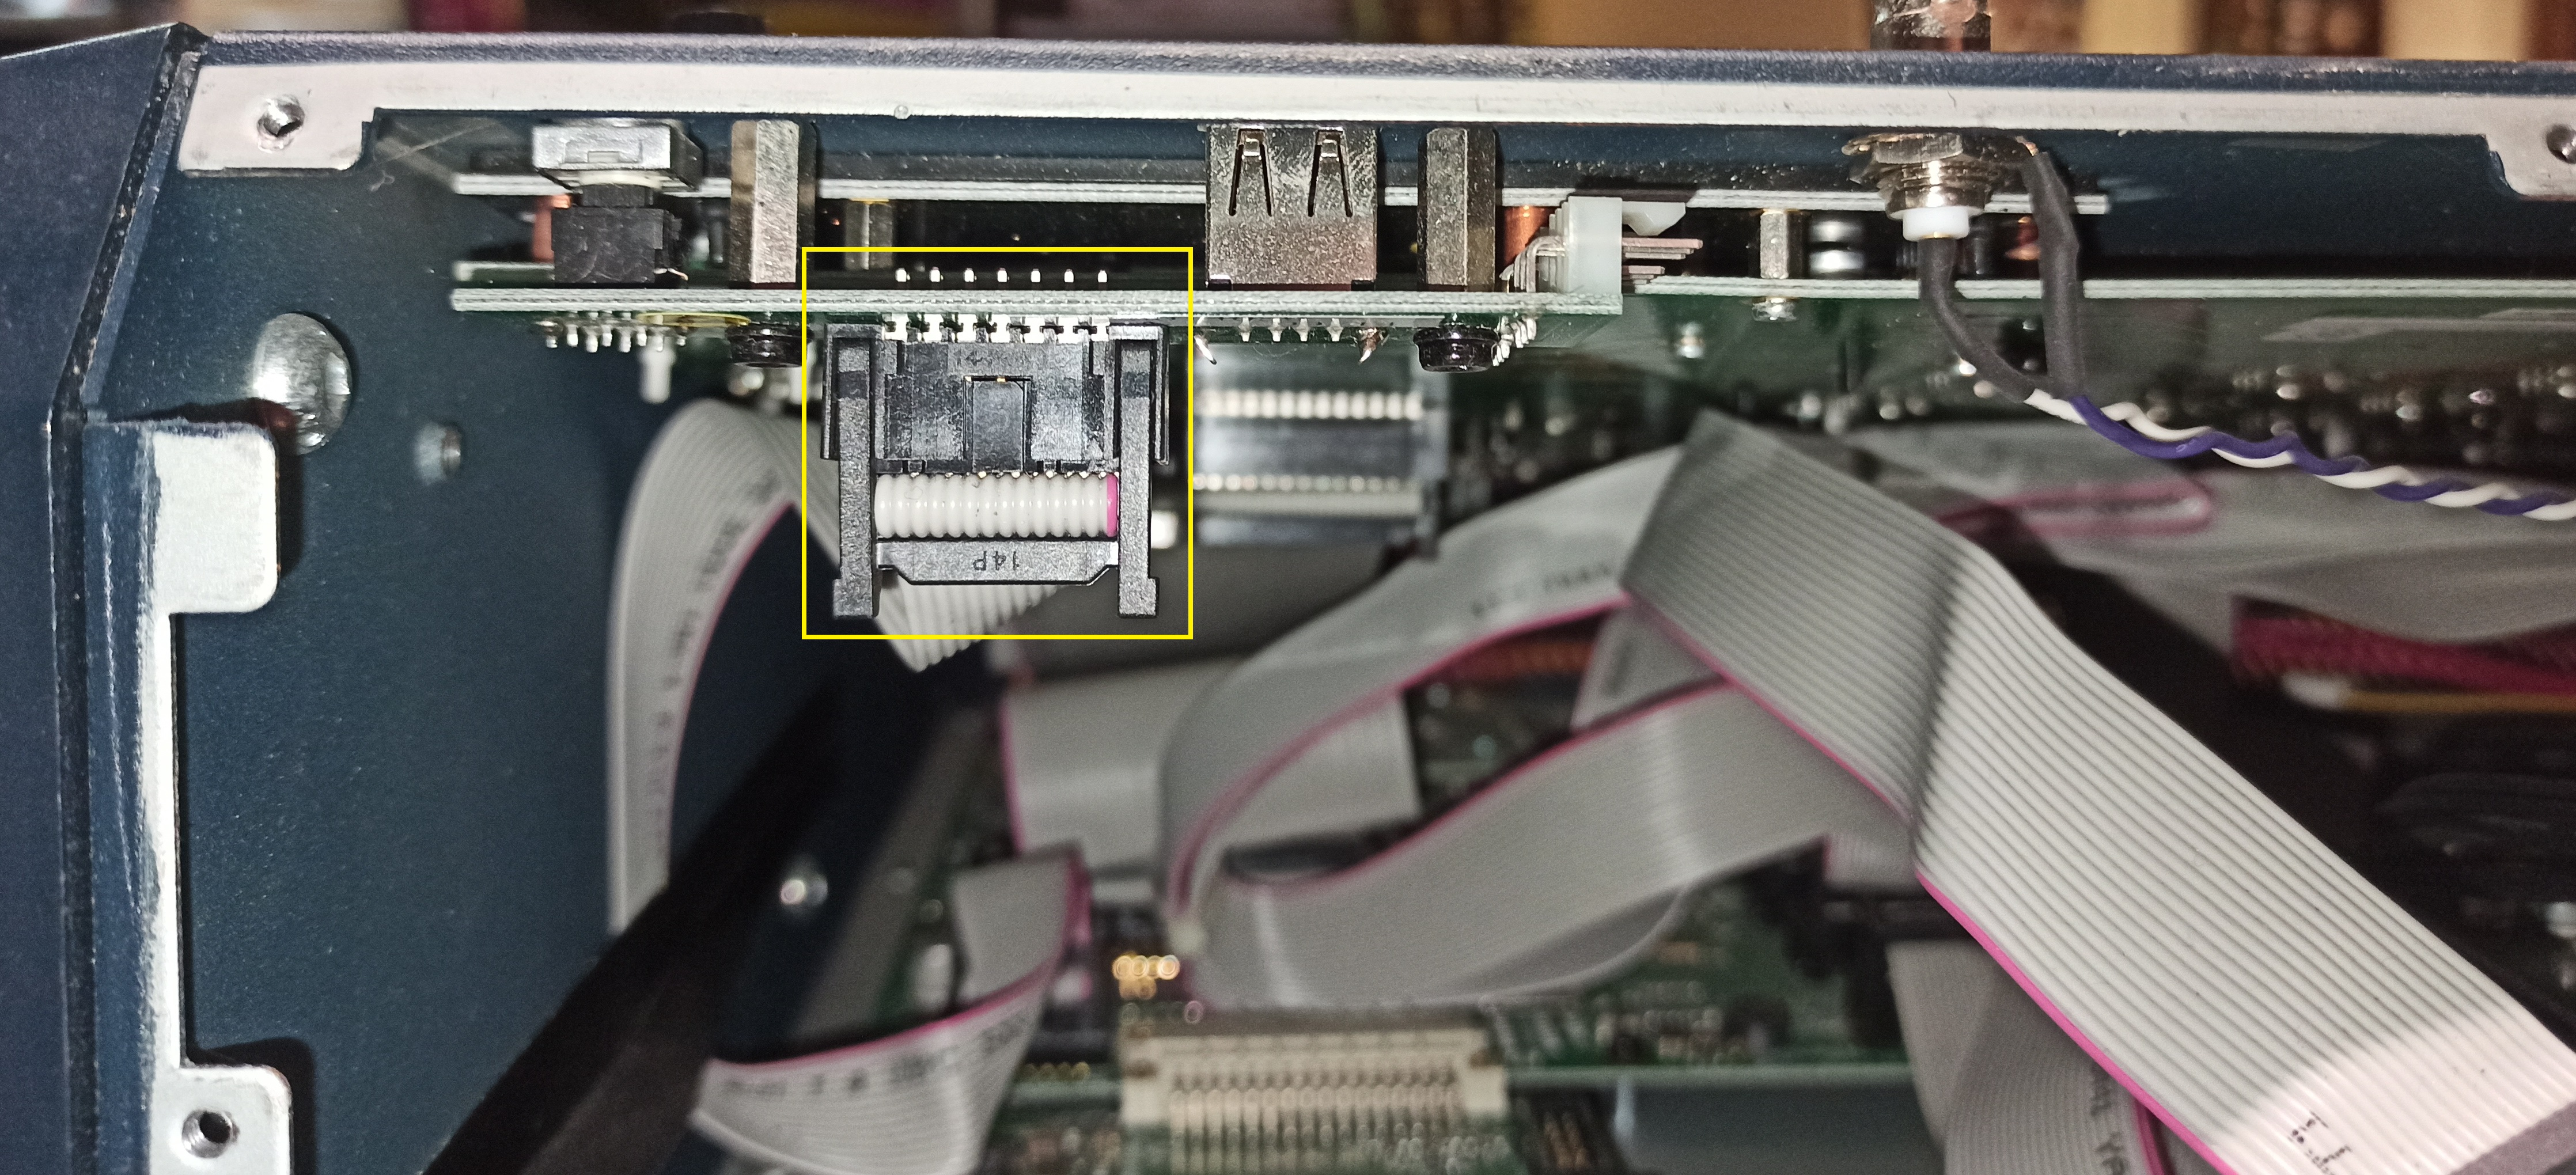 Figure 4 - USB PCB module.
Remove the two screws that hold the tiny PCB (Figure 5).
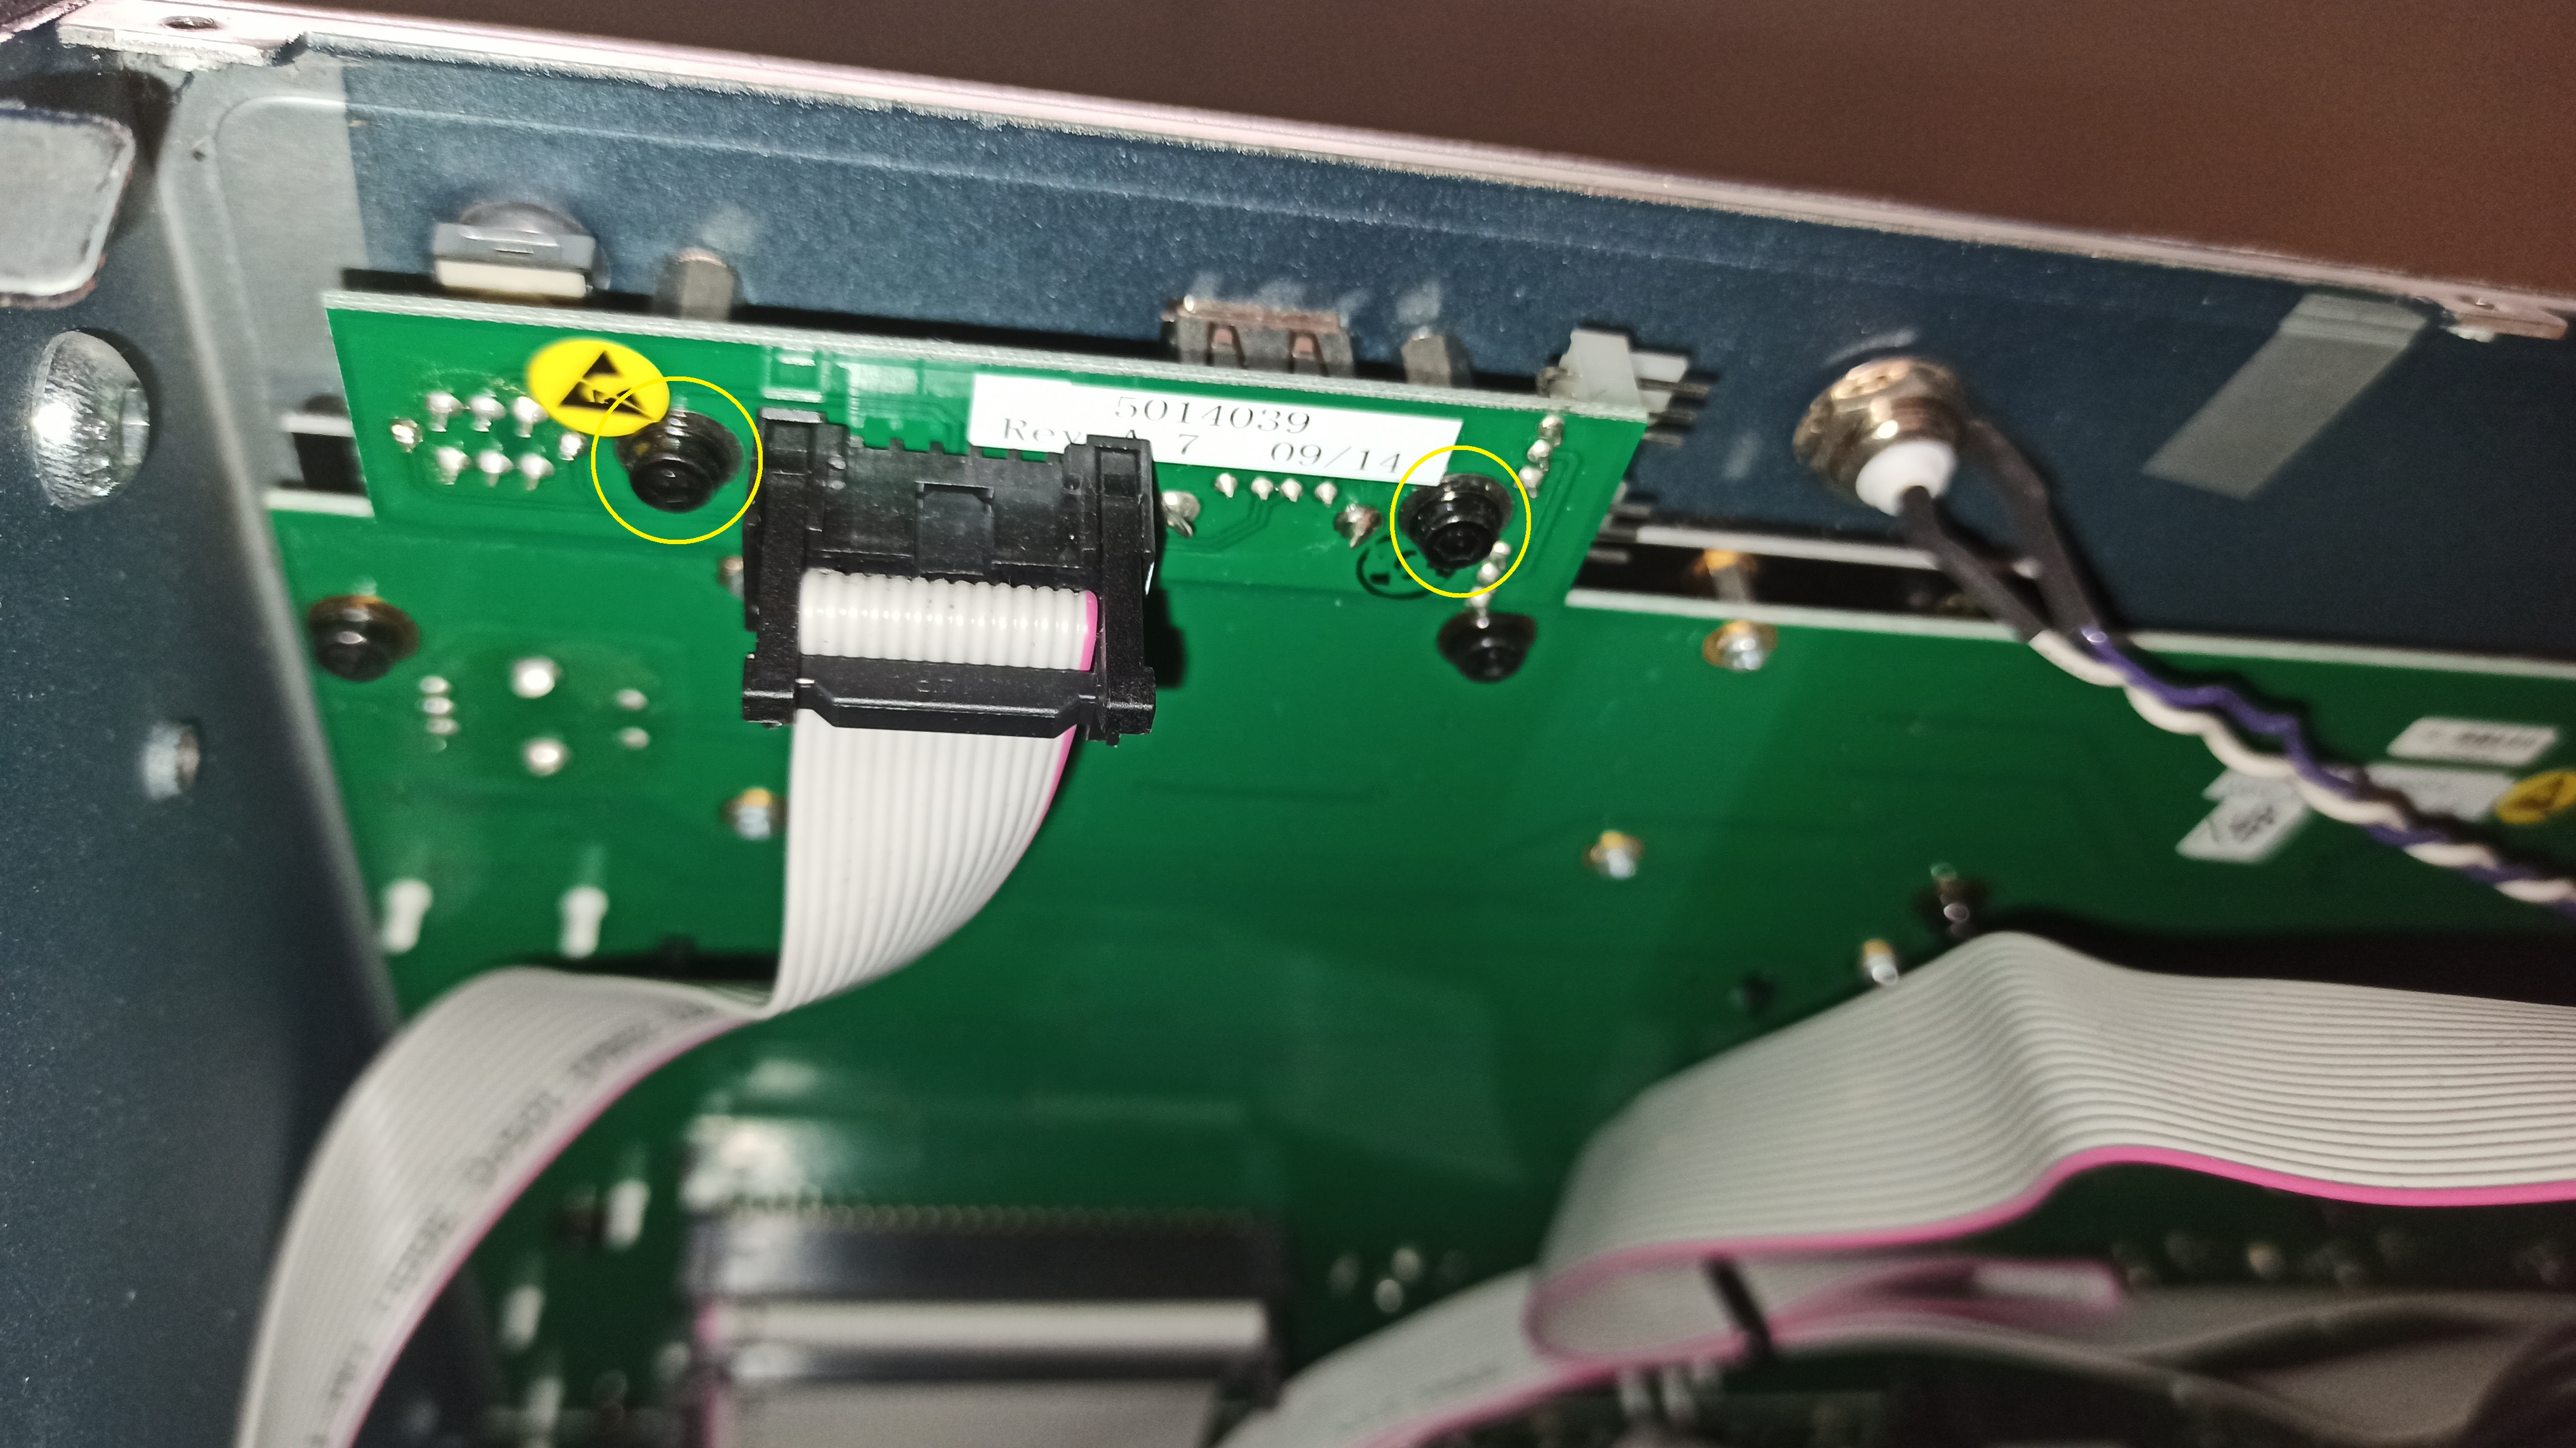 Figure 5 - Tiny USB PCB bottom view.
Step 3 - Soldering
Now we need to solder the new USB socket. (Figure 6)
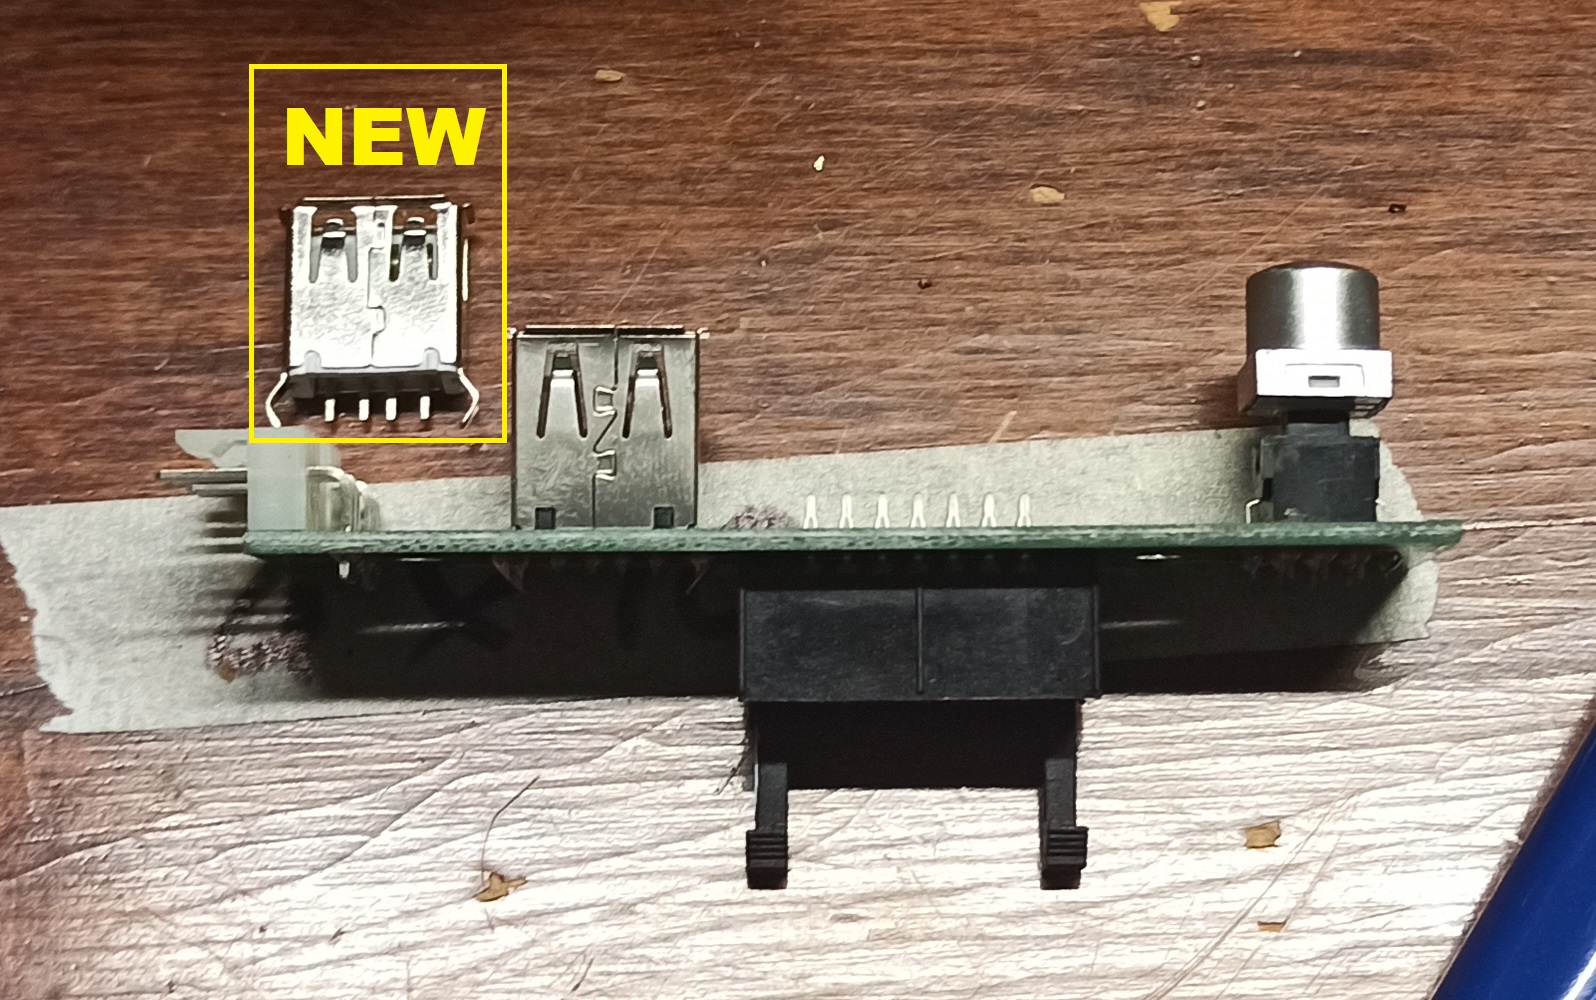 Figure 6 - Unmounted PCB module.
Remove the old connector and solder the new one (Figure 7). Rememeber to use flux.
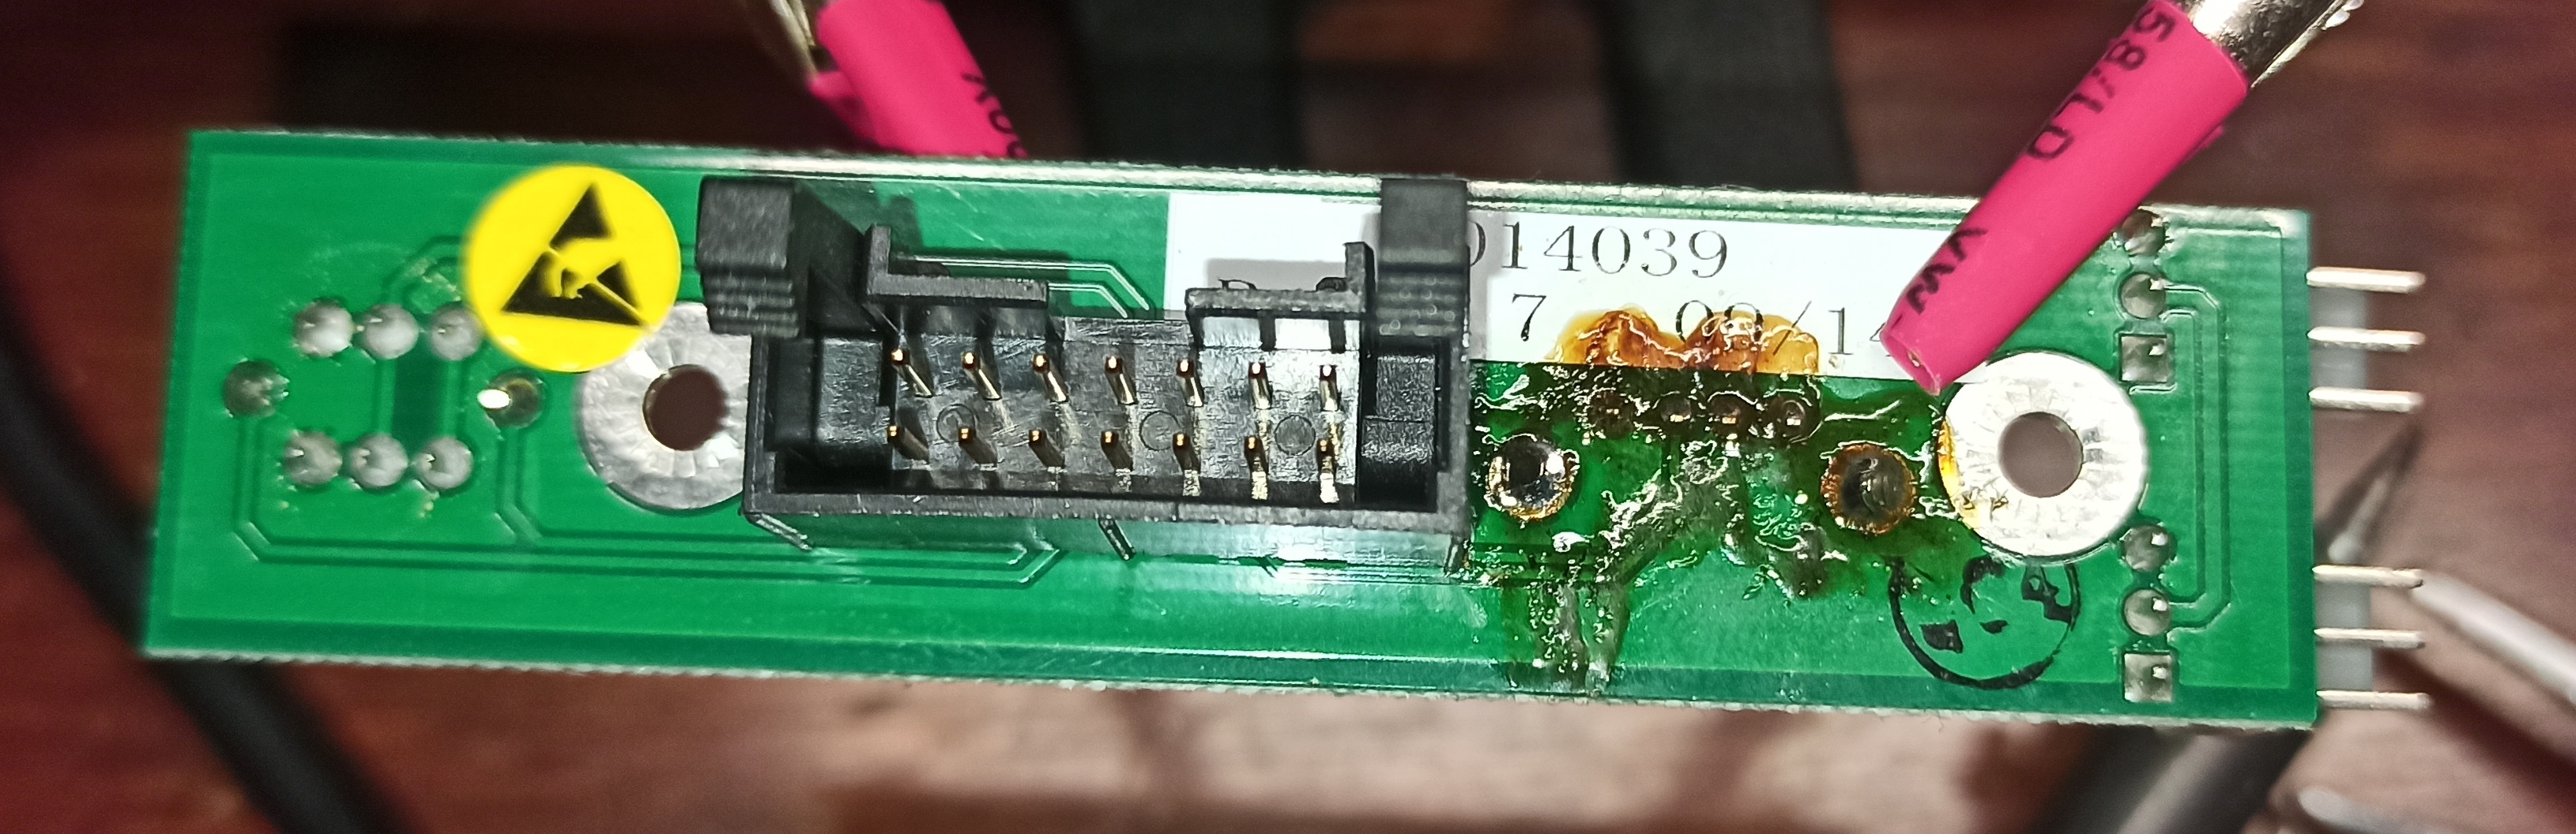 Figure 7 - New component solded.
Clean the PCB from the flux using isopropyl alcohol (Figure 8).
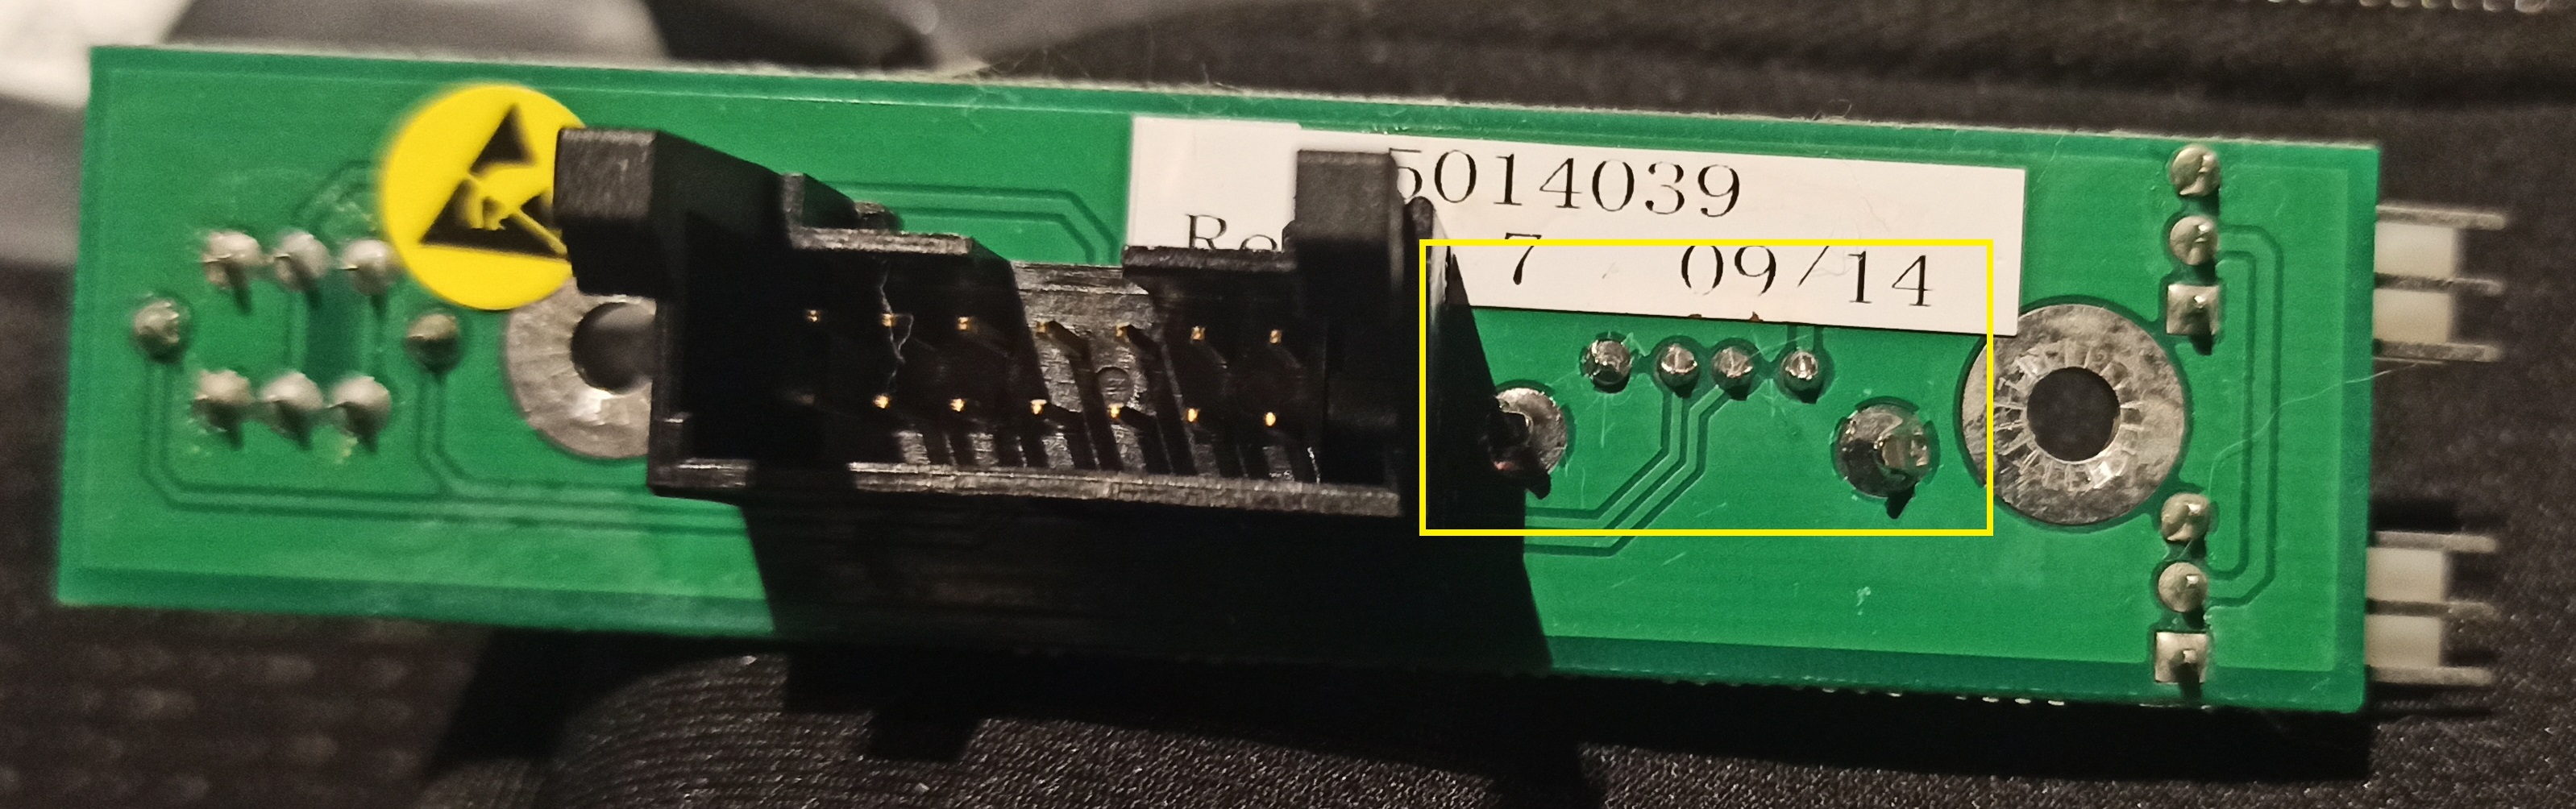 Figure 8 - Cleaned PCB.
Step 4 - Mount it back
Mount back the solded module. (Figure 9)
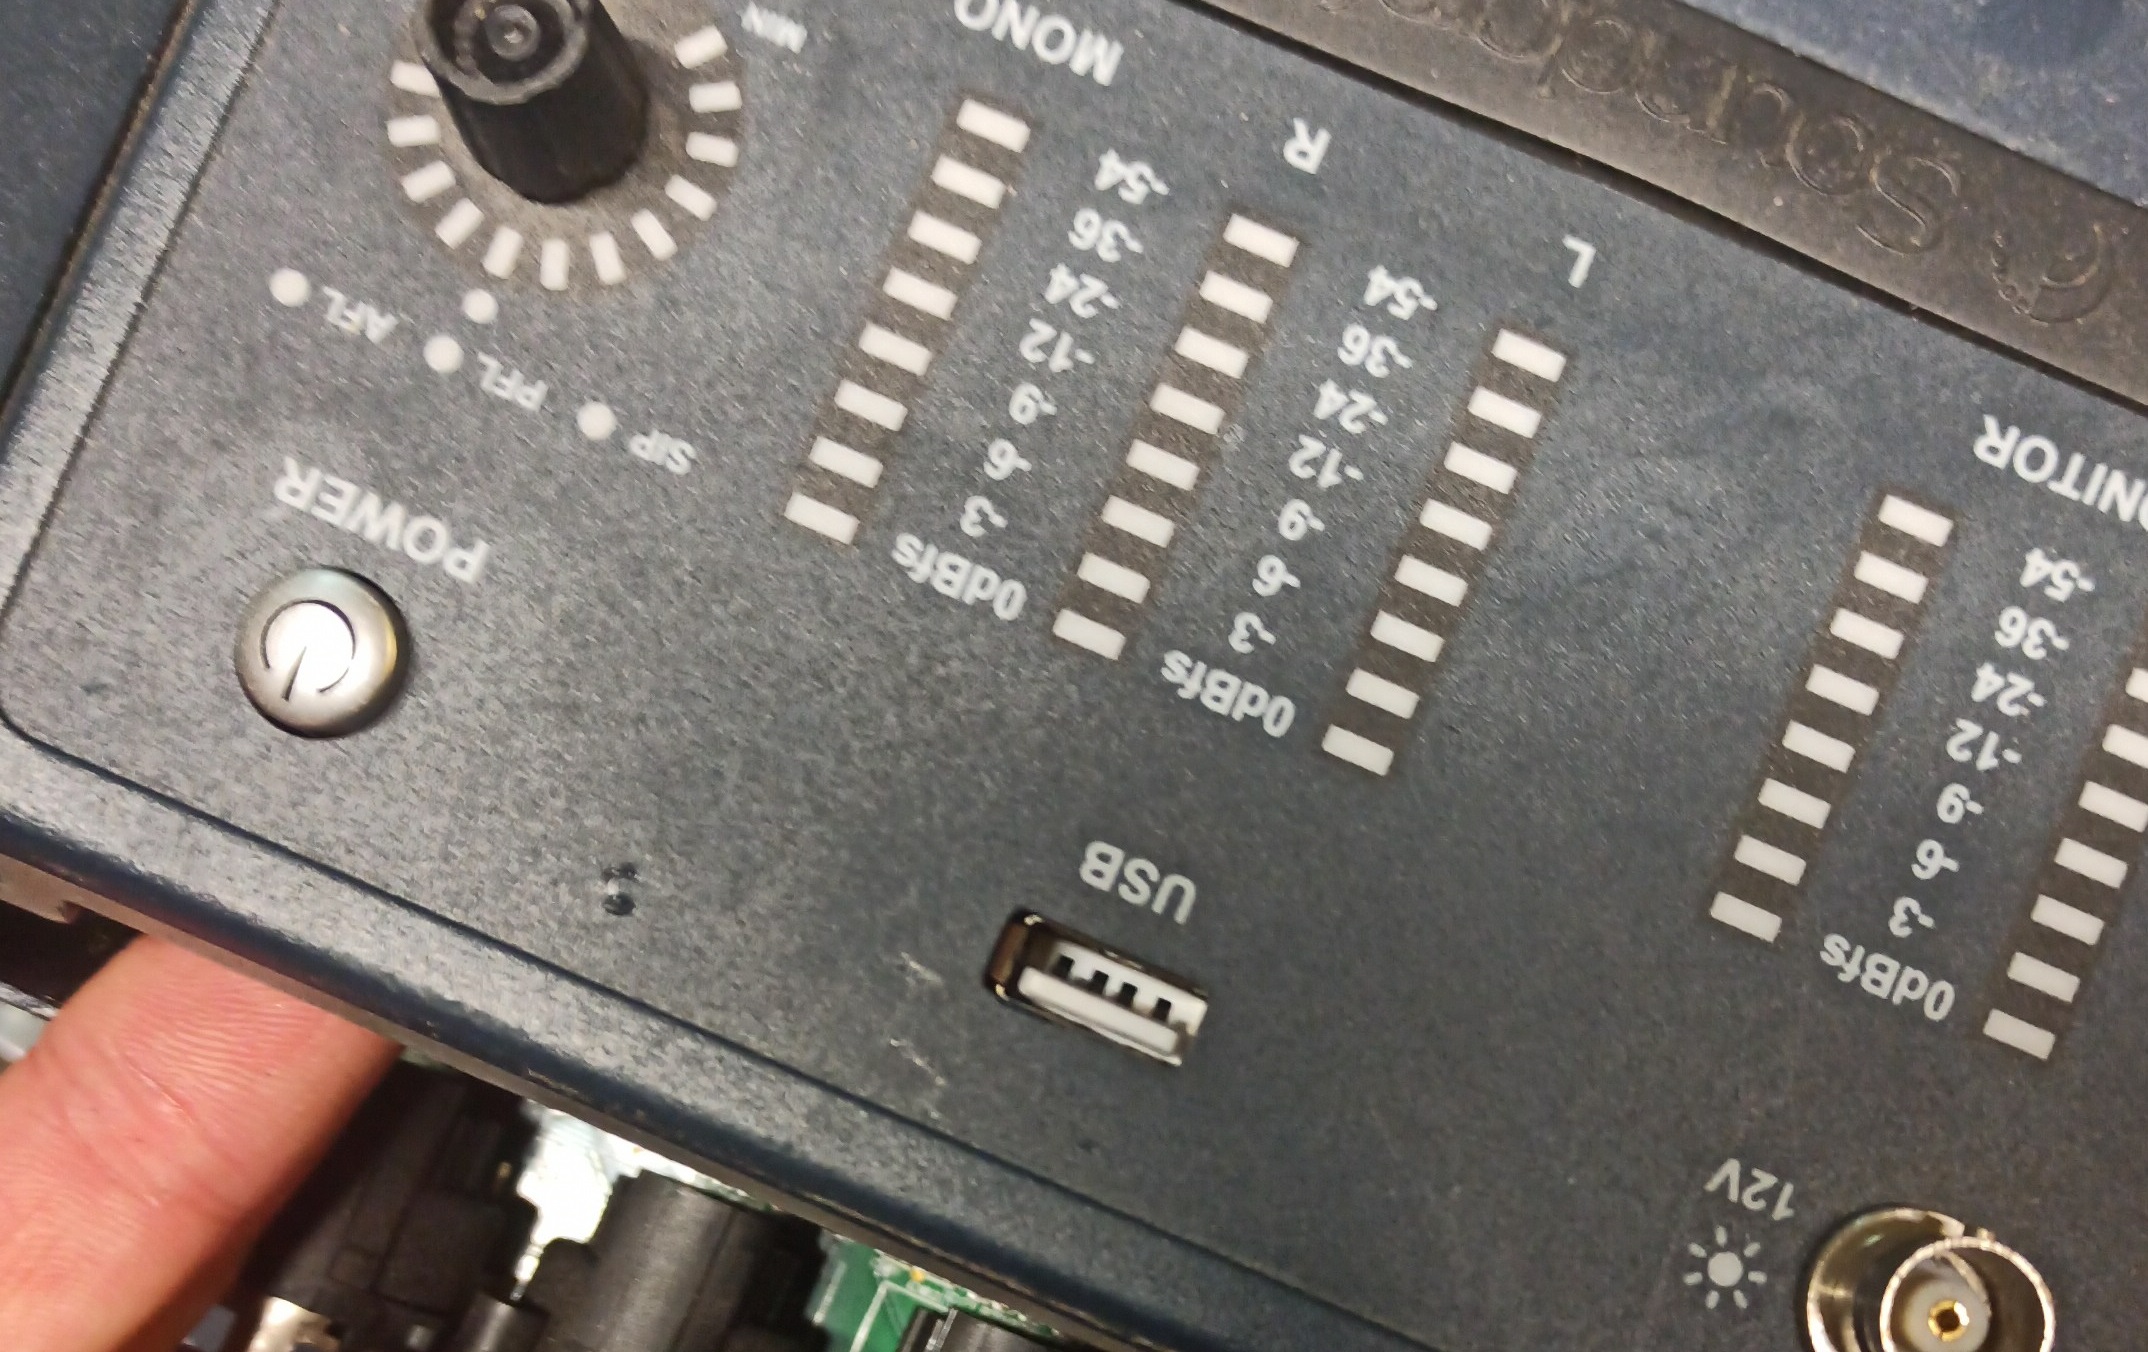 Figure 9 - Solded module back in place.
Follow the previous steps to reassemble the mixer.